From a simple block color to a fancy floral pattern, there’s a wallpaper to suit all sorts of room styles. Below are a few DIY wallpapering tips to achieve a fresh new look in your home.
Removing the Retro
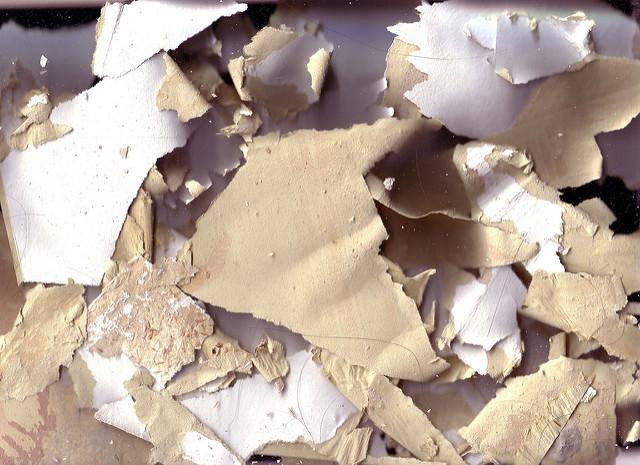
Time to remove that drab, dated wallpaper before your new wallpaper of choice is applied. This can be a daunting task, but if you have the right equipment it doesn’t have to be scary. One thing that could come in very handy is a wallpaper steam stripper, which allows quick removal of the current paper with little effort. These can be purchased without breaking the bank and are ideal for wallpaper that’s tough to remove. If you’ve got some time on your hands, fabric softener mixed with water can be applied with a sponge to your walls and scraped off after about twenty minutes. If in doubt, consult a guide. Now your walls are ready for their makeover.
Prepare For Transformation
For a sleek finish that will ensure that your wallpaper lasts well into the future, it’s important to make sure your walls are treated correctly before applying new paper. Fill any holes or cracks with drywall patching compound, and smooth out any rougher areas with sandpaper. It’s also important to apply a primer or sealer to your walls, which will prepare your walls to bond securely with the paper.
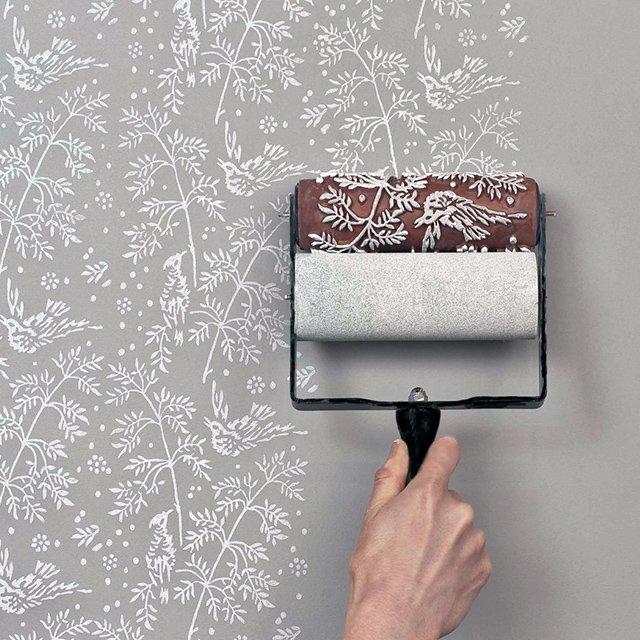
Operation Application
Once you've gone through the process of selecting the perfect wallpaper to suit your style (we know how long a process this can be!) it's time for the all important application stage. If your walls are particularly uneven, consider hanging lining paper horizontally on the wall before the wallpaper. Be sure to calculate the length of the rolls and the size of the room to prevent any wallpaper shortages.
To apply the first strip, measure the wall and cut a strip of paper 10cm greater than the length of the wall. Place the strip face down on a papering table or surface you don't mind getting sticky, and apply a layer of wallpaper paste, allowing time for it to soak in.
Draw a vertical line down the wall to ensure the paper is straight, and plan ahead to ensure patterns and designs on the paper match up. Now you're ready to hang your paper. Keep a steady hand and use a brush to push the paper into the corners.
Finally, mark a line where any excess paper meets the wall, peel the paper back and trim off the excess.
Making Wallpaper Go Further
A quirky alternative to covering your walls in wallpaper can be achieved by making it an artistic feature of the room. Framed panels of leftover wallpaper can look really funky, and they require very little effort. Opt for a fun or funky pattern to add a splash of excitement to your room.
Et voila! Your room has undergone its transformation. DIY wallpapering: no problem!
Images by DaveBleasdale and Wicker Paradise used under Creative Commons License.